
Migrating your e-commerce store to a new platform like Shopify can be an exciting step for your business. But the process of moving hundreds or thousands of products can quickly become a technical nightmare. The most common method, using a CSV file, is powerful but filled with potential pitfalls.
Step 1: Export Your Products from Your Old Platform
The first step is to get your data out of your current system (WooCommerce, Magento, etc.). Look for options to export all product data to a CSV file. This file will become your "Source File."
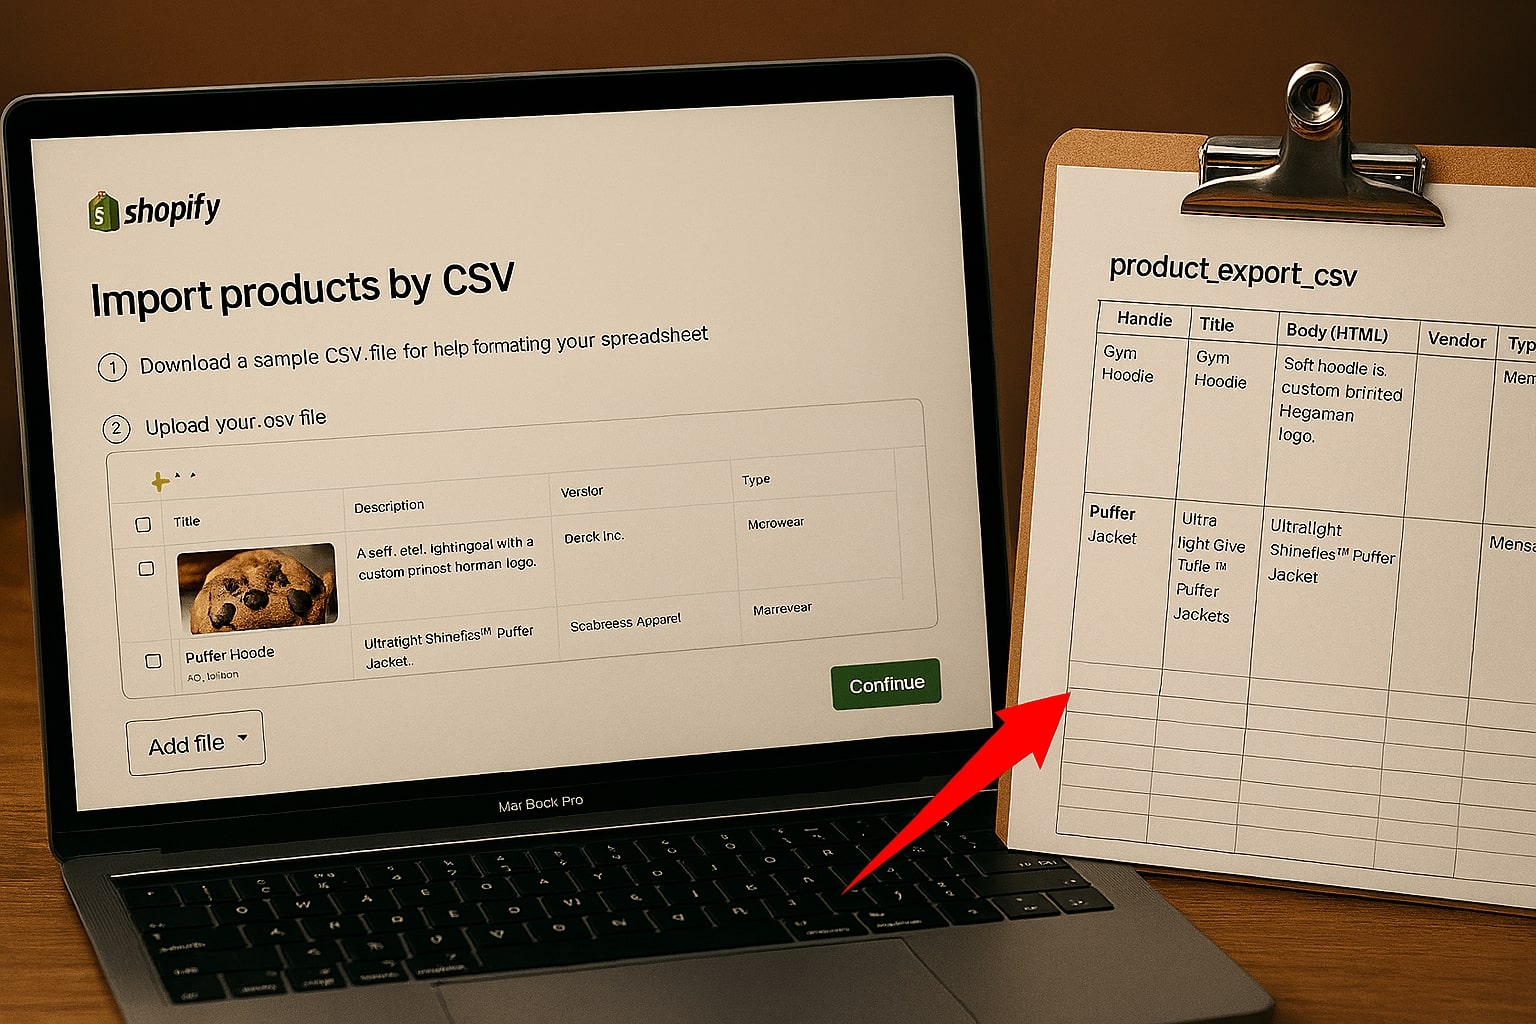
Step 2: Download Shopify's Sample CSV Template
Do not try to upload your exported file directly to Shopify. It will fail. Shopify has a very specific format. Go to your Shopify admin, navigate to Products > Import, and click "Download a sample CSV template".
Step 3: Mapping Your Data
Now you must transfer the data from your source file into the correct columns of the template file. This is where most errors occur: naming conventions differ, and column orders change. Manually copying this is time-consuming.
The Easy Way: Use an Automated Mapping Tool
Instead of wrestling with spreadsheets, you can automate the mapping process. Our eCommerce Product CSV Mapper was built specifically for this problem.
- Upload your Source File (from your old store).
- Upload your Template File (the empty Shopify one).
- Visually match the columns. Match "Title" to "Product Name," and so on.
- Generate the new file. Click one button for a perfectly formatted CSV.
Step 4: Import into Shopify
Go back to Shopify, click Products > Import, and upload the new file. Your products will appear correctly formatted and ready to sell.